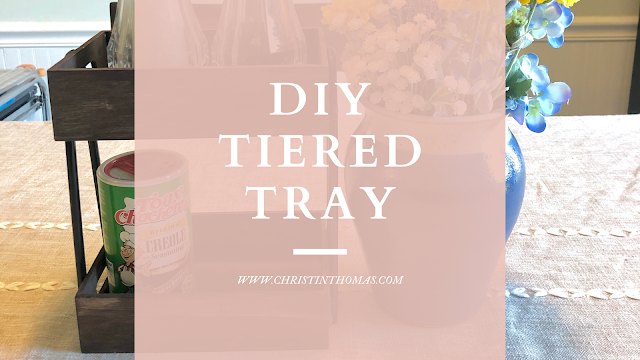
A while back I saw a video on TikTok showing how to make a mini tiered tray.The plus side was that everything to make this could be found all at Dollar Tree. So a cute piece of home decor and craft all for a very afford price? Sign me up! I did make a few changes to it and instead of making one shelf pushed back a little, I made this line up. I do like it but the next time I make one of these, I’m going to push back the top self so they don’t line up. I hope that made sense to you. Here is the TikTok video that gave me this awesome idea.
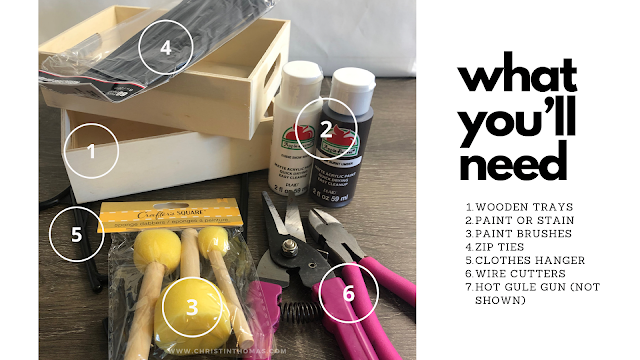
What you’ll need:
1. Wooden trays
2. Paint or wood stain
3. Paint brushes
4. Zip ties
5. Clothes hanger
6. Wire cutters
7. Hot glue gun and hot glue sticks
Steps
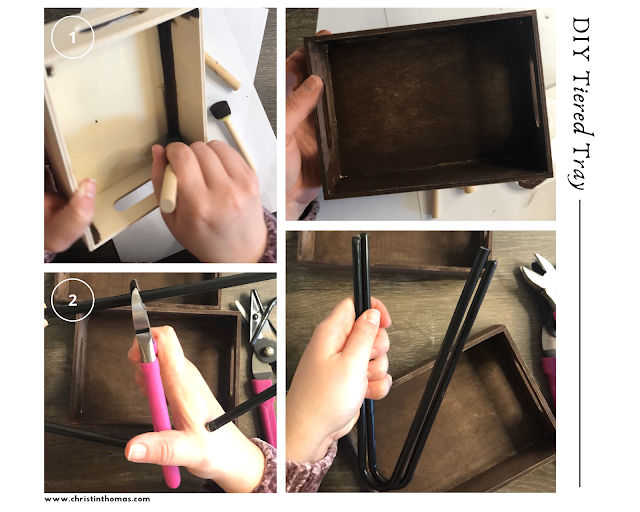
1. Paint or stain your trays the color you would like and let paint dry. I use acrylic paint, which dried pretty quickly.
2. Cut the hanger into two pieces. I cut off the hook of the hanger first, then I cut it in half. Make sure you flip one of the pieces over, that way it will be the same length.
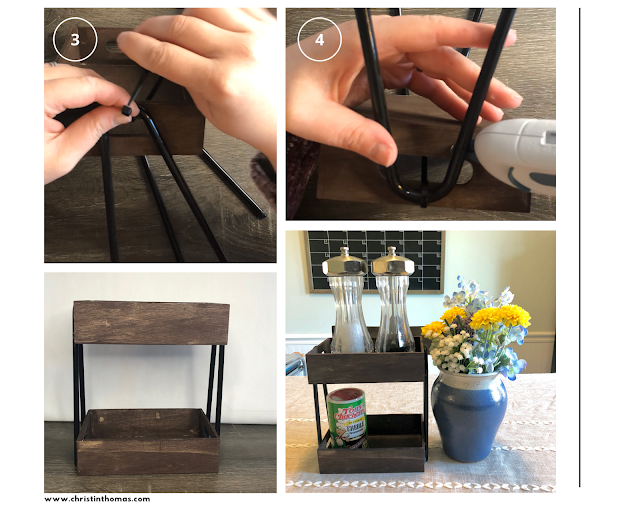
3. Zip tie your wood trays to your hanger. This will help your trays stay in place and will allow you to move them to place them.
4. Glue the hanger pieces to the trays. I glued the top try first and then my bottom tray.
5. Cut off the zip ties. You can keep the zip ties on the top try to give you more support.


0 comments